Create Multiple Floors In Revit A Time

Solved Split A Floor Into Two Floors Surface And Element At The Same Time Autodesk Community Revit Products

Revit Tutorials Design Options Revit Tutorial Tutorial Design
Revit Architecture How To Work With Floors Lynda Com Tutorial Youtube

Revit Tutorial Working With Multiple Levels Lynda Com Youtube

Revit Wall Tags And Wall Types Legend School Architecture Tags Structure Architecture
Video Create A Floor Revit Products 2020 Autodesk Knowledge Network

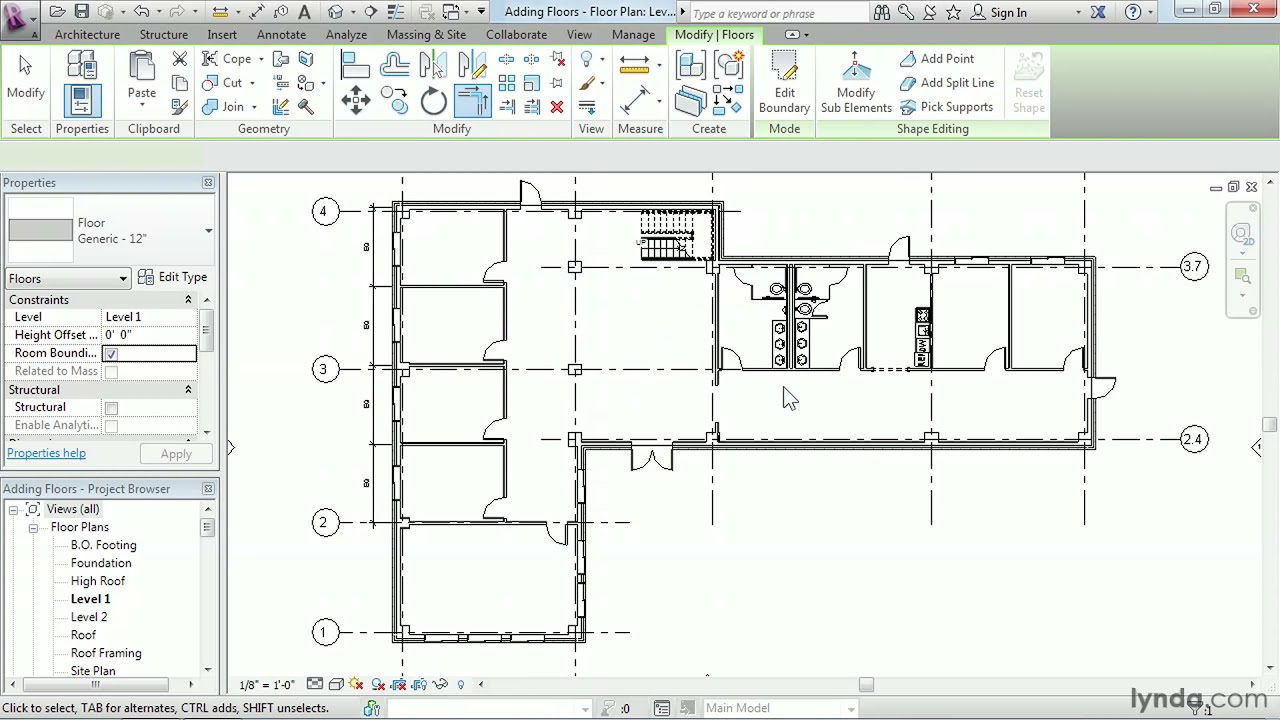
In revit there can be many different ways to do typical tasks done in every project.
Create multiple floors in revit a time.

Autodesk Revit Tutorials 14 Adding A Sloped Floor Autodesk Revit Revit Tutorial Autodesk

Https Encrypted Tbn0 Gstatic Com Images Q Tbn 3aand9gct5zic0ugtg6n5wwnlhl2me1xmo3ko2cf0iig Usqp Cau

There Are Different Methods In Revit For Creating Roofs The Easiest One Is The Footprint Roof A Footpri Building Information Modeling Revit Architecture Roof
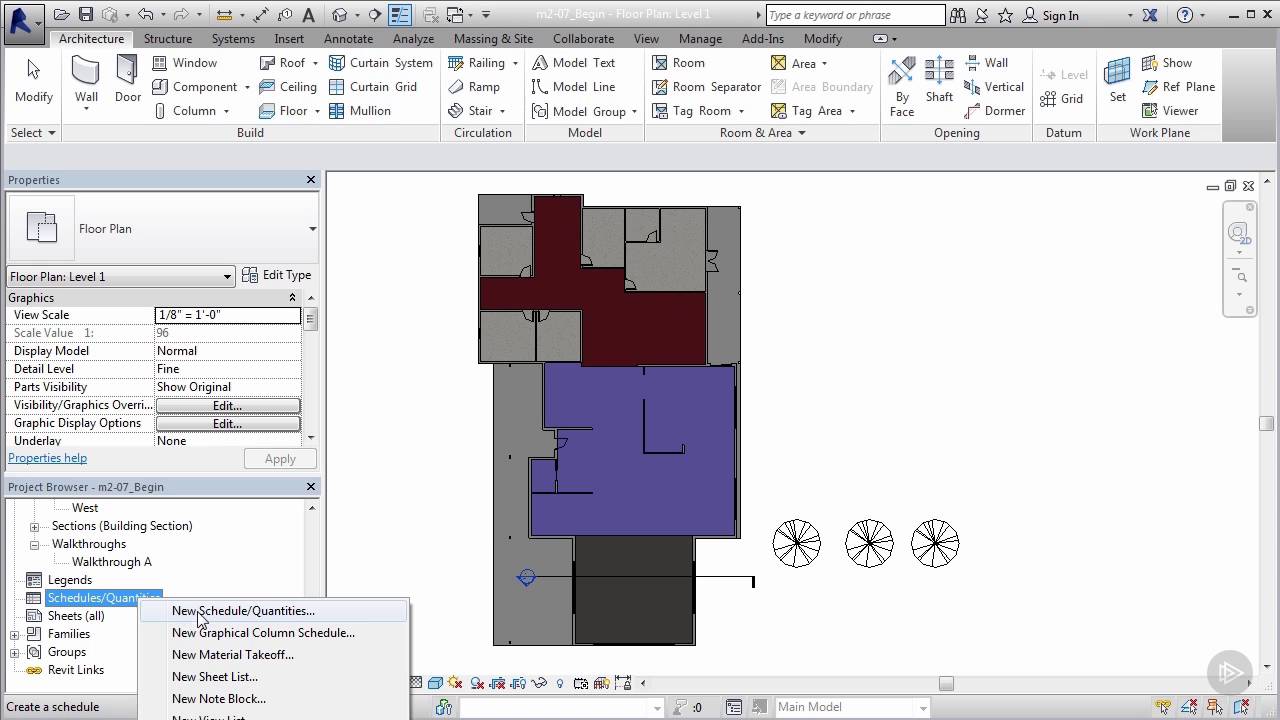
Scheduling Floor Finishes In Revit Youtube
Source : pinterest.com
